
About
About Us
Learn More
Colony Care
Winter Shelter

Your gift means food, shelter and veterinary care for cats in need.
Keep your cats warm and dry
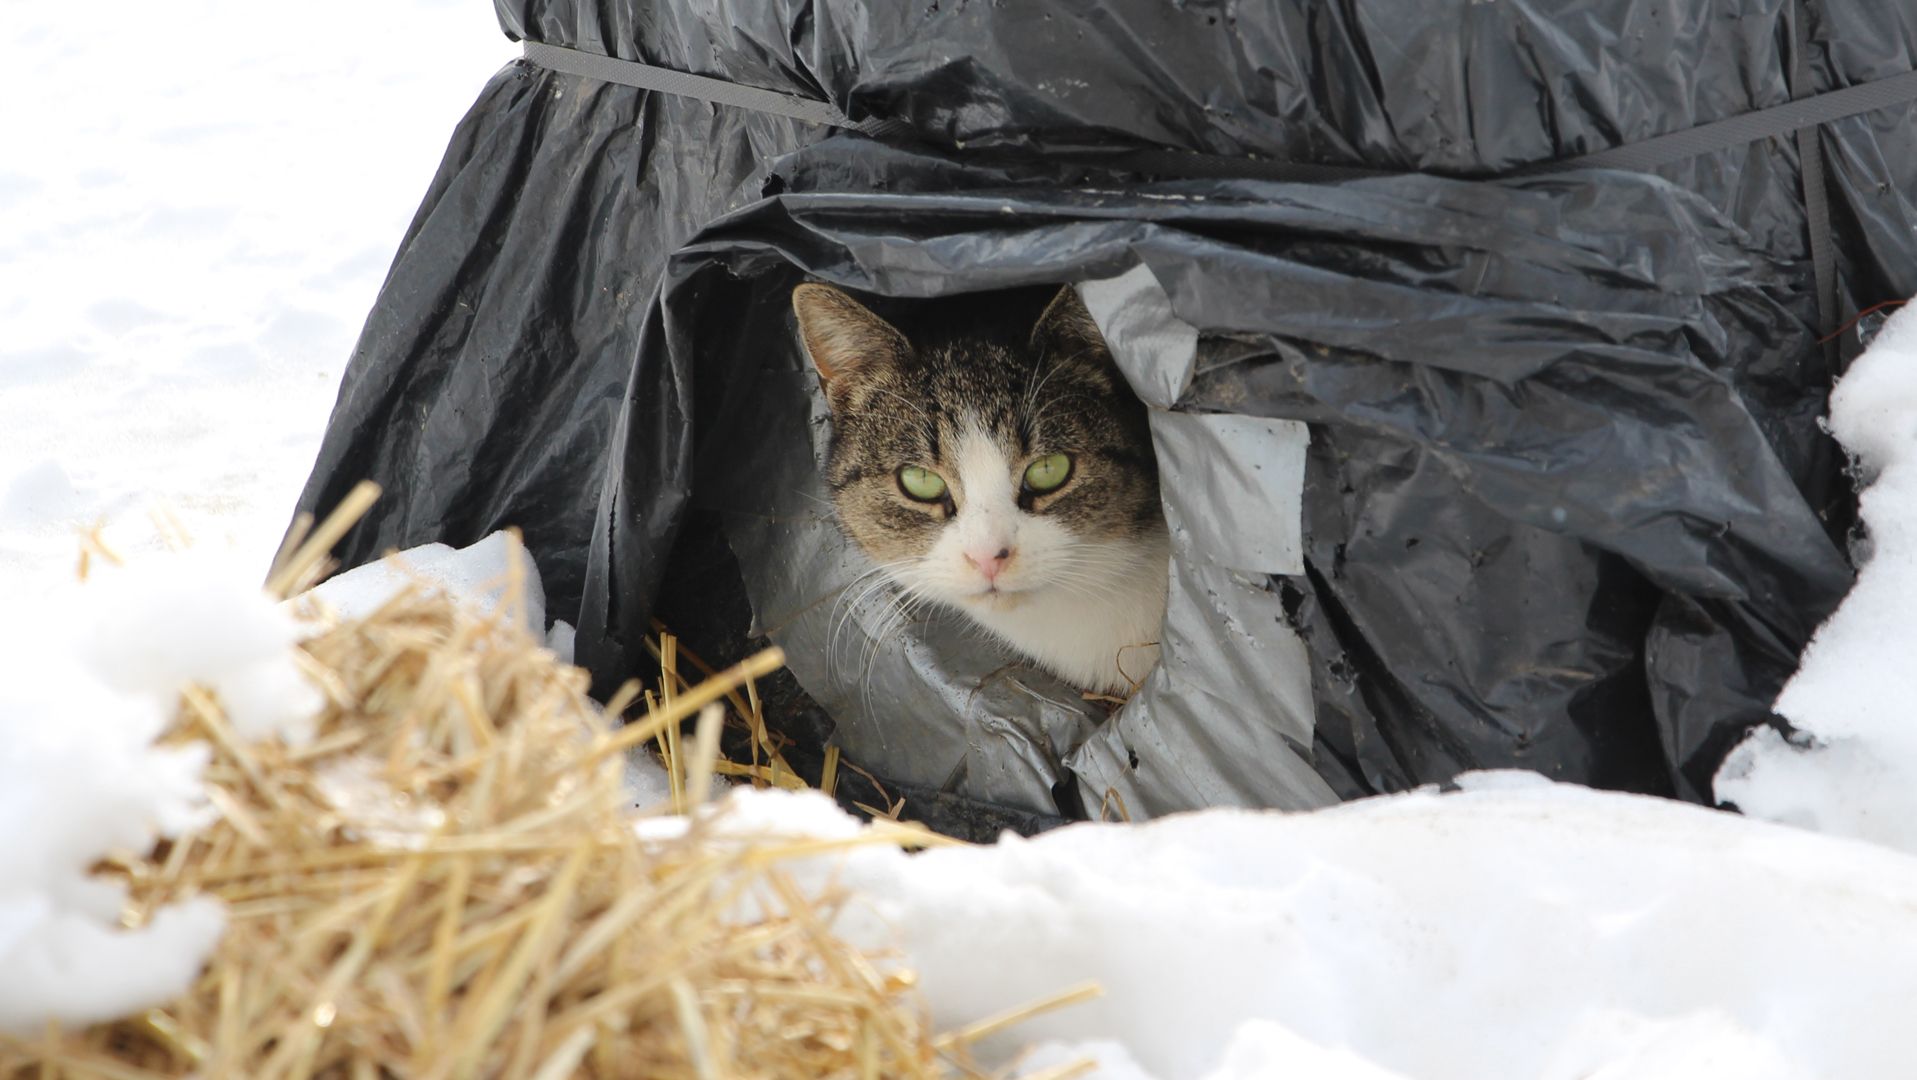
When good winter shelter is provided, community cats in cold climates can thrive despite frigid temperatures. An adequate shelter will be weather-proof, well insulated and leave a minimum of open air space when cats are inside. Here you'll find inexpensive, do-it-yourself ideas, pre-fabricated shelters for purchase, and even an emergency shelter made of cardboard boxes that can be put together quickly in a pinch.
Further down on this page learn what kinds of insulating materials are best to put inside the shelters, flap door and where to place your shelters. For more on winter care, also see our stop freezing water page.
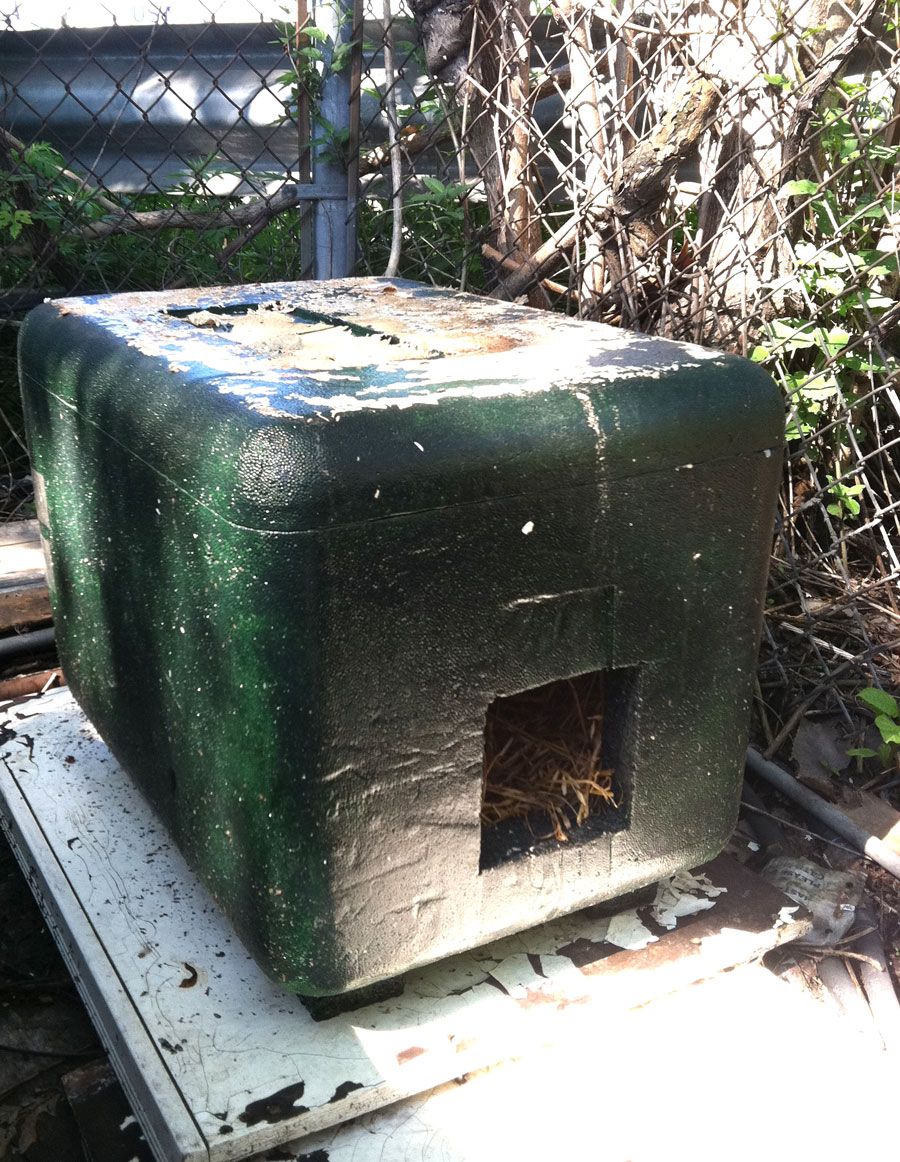
Styrofoam boxes
Styrofoam boxes are often used to ship food products, medicines or other items that need to be kept cold. Find one that's at least 1.5 inches thick and convert it into a warm winter shelter following these steps:
- Use a utility knife to cut a 6 in. x 6 in. opening in a short side of the box. The bottom of the doorway should be a few inches above the bottom of the box to prevent flooding.
- Glue the cover of the box on with silicone glue.
- Apply one or two coats of latex deck paint, choosing a color that will blend the shelter in with its surroundings.
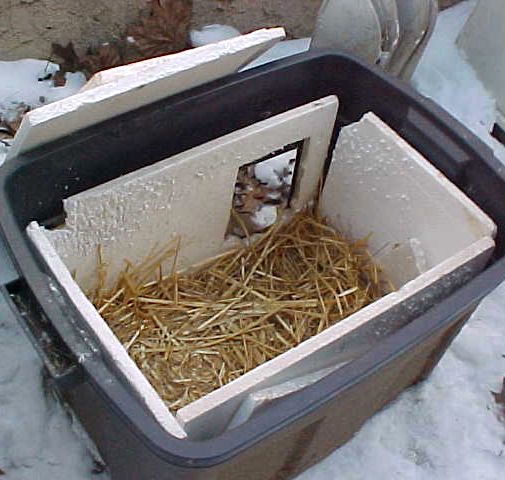
Storage bins
A durable storage bin, like the Rubbermaid Roughneck Tote, can be turned into a winter hideaway. Insulation is provided by lining the floor and interior walls, and creating an interior "ceiling," with pieces cut from a 1-inch thick rigid foam board. The pieces don't have to fit together perfectly, so they can be hand cut using a ruler and utility knife. Straw stuffed in the bottom secures the foam pieces in place. An 18 gallon bin can house one cat, while a 55 gallon bin can hold several. Download step-by-step instructions.
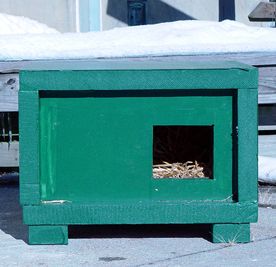
Neighborhood Cats Shelter
A two-inch thick piece of rigid foam board insulation can be cut into pieces, which are then glued together to make a lightweight yet strong and very toasty shelter. You'll need a sheet measuring 8 ft L x 2 ft W x 2 in H. Depending on availability of that size, you may need to buy a sheet that's 8 ft L x 4 ft W, then cut it in half length-wise (the line should be pre-scored). A table saw is needed due to the thickness of the foam board. Download step-by-step instructions.
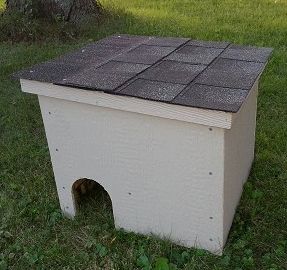
Feralvilla (for purchase)
Feralvilla offers an excellent outdoor cat shelter for sale. It's made of wood composite, comes with an optional shingled roof, is pre-primed for painting and can be assembled with a screwdriver in 15-30 minutes. There are two levels inside - cats enter the lower level from outside, then climb up through an inner opening to the fully insulated upper floor. The wood composite is environmentally friendly and uses a low toxicity resin to bind the fibers.
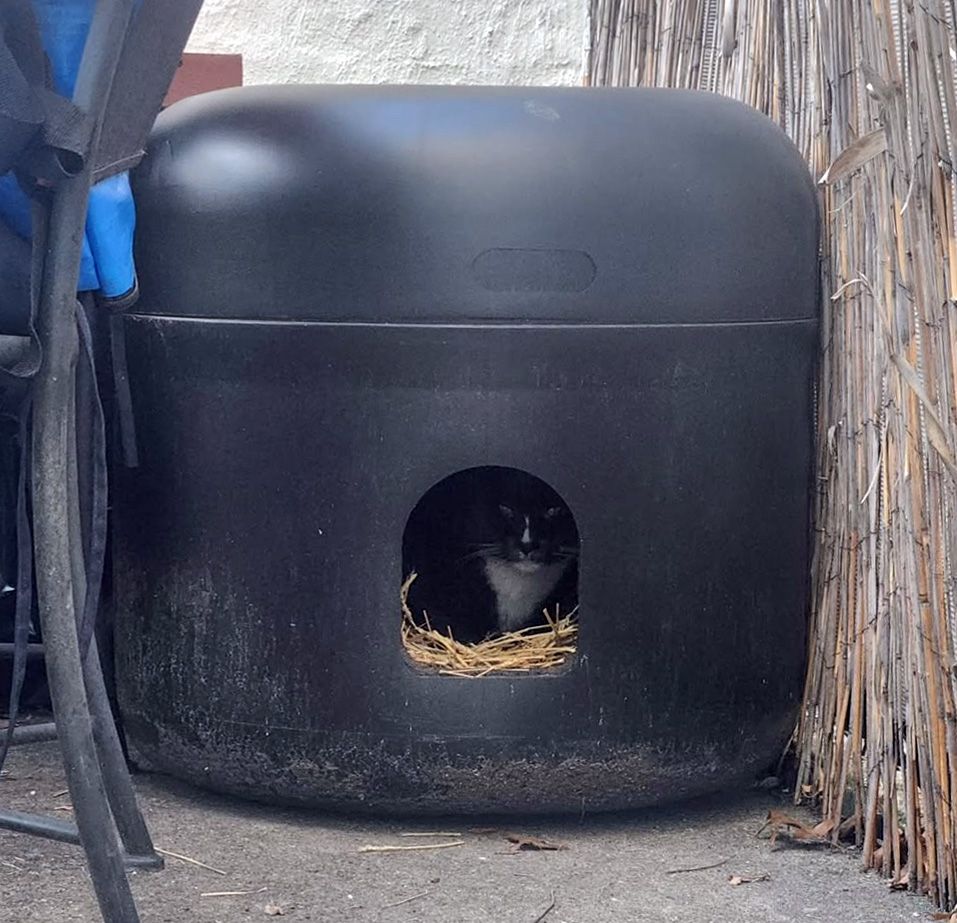
The Kitty Tube (for purchase)
Designed for Upper Midwest winters, The Kitty Tube is a durable, well-insulated circular shelter that can hold up to 3 cats. Best value for community cat caretakers is the The Kitty Tube with Oat Straw. The latest model comes with an awning and flap door along with a removable top and vents to prevent condensation. There are also lots of optional accessories, including double insulation, a heating pad and a scratch guard. One of our staff has one in her backyard and swears by it!
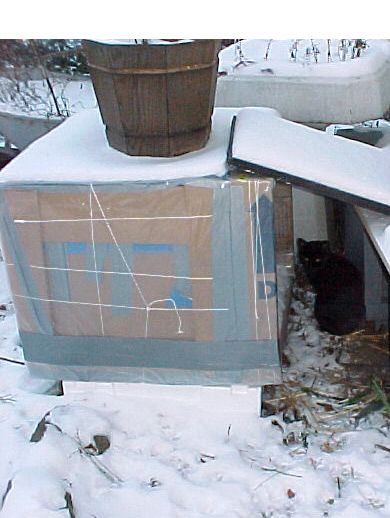
Emergency shelter
You'll need a cardboard box, duct tape, shredded newspaper, and either a 3mm thick plastic drop cloth or 3mm contractor bags.
- Tape all the seams on the cardboard box shut with duct tape.
- Wrap the box completely with the drop cloth or contractor bags. Secure onto the box by tightly wrapping duct tape around the plastic, covering all seams.
- Cut a doorway (6 in. x 6 in.) in a shorter side of the box, keeping the bottom of the door a few inches above the box's bottom.
- Put lots of shredded newspaper inside.
For extra insulation, start by putting a slightly smaller cardboard box inside the larger one and fill the gaps between them with rolled up newspaper.
Insulating materials
More protection against the cold
For extra warmth, add insulating materials inside your shelter which the cats can burrow into. Best is straw. It can be purchased online by the bale from Home Depot or in smaller amounts from The Kitty Tube or craft stores like Michael's. Horse stables and nurseries sometimes also have straw for sale. Keep an eye out for autumn displays using straw - see if the owner will donate it when the decorations come down. If you can't find straw, shredded newspaper will work.
Avoid using hay which, unlike straw, is moist and can grow harmful bacteria and mold. Items which the cats lie on top of, like blankets or towels, will trap some body heat, but not nearly as much as insulation that surrounds the cat (like straw). An exception to this rule is Purr Pads which are more efficient at absorbing and retaining body heat. Snuggle Safe Pads are also good on a frigid night. Whatever you use, replace it immediately if it gets damp.
If you're dealing with extreme cold and build your own shelter, line the interior walls, floor and ceiling with pieces cut from a Mylar blanket, using a non-toxic glue like Weldbond. Mylar is a thin polyester material that traps and reflects body heat back at its source and is often found in winter survival kits.
Flaps & doors
In our experience, well-made winter shelters do the job without a flap door. That said, putting a flap over the doorway does help keep cold air out and warm air in. The flap should be waterproof and thick enough to provide insulation, but still light enough for a cat to easily pull it back. A piece of vinyl or part of a rubber mat should do the trick. Use extreme weather VELCRO or cold-resistant glue to attach the flap above the doorway.
Wait to attach a flap door until after the cats are using the shelter. Otherwise, it might deter them from going in and exploring. Once they've decided their bed is inside, they'll figure out how to pull the flap back and go in.
Do you need two doors? Usually, no. Two doors can create drafts and take away valuable warmth. Only if there are frequent predators in the area, like coyotes, might two doors ever be needed. In most cases, the chances of a predator trapping a cat inside a shelter are remote and it's not worth making the shelter less warm.
Placement
Put the shelters in a location where the cats already spend time, like near where they're fed. Close to the feeding area has the advantage of limiting how far they'll have to travel to eat during inclimate weather. Don't place the shelters out in the open, like in the middle of a yard or lot, but under or up against something familiar, like a wall, fence, tree or porch. Ideally, the spot will be out of the wind yet exposed to the sun. Encourage your cats to use the shelters by sprinkling catnip inside and at the entrances.
Ideally, to prevent flooding, raise the shelters off the ground with pallets or bricks, making sure they remain stable and not wobbly. Most cat shelters are lightweight so weigh them down by placing heavy objects on top, like concrete bricks, though of course avoid putting too much weight on and damaging the roof.
If you have more than one shelter, position a pair so they are a foot or two apart with their fronts facing each other. Place a board on top of both to span the gap between them. This setup will help break the wind and create a space between the two shelters protected against rain and snow where you can put food and water if necessary.
If the surfaces of the shelters are paintable, camouflage them with a color that blends in with their surroundings. Grey, green and reddish-brown are often most useful. For the best protection as well as ease of application, use an exterior latex deck paint.